
Learning how to repair damaged hair can feel like a daunting task, especially when you are staring at a head of frizz, split ends, and breakage. However, with a realistic routine focused on gentle cleansing, nourishing treatments, and smart styling habits, you can restore shine and strength. It is not about overnight miracles; it is about consistent, science-backed care that respects the hair’s biological structure.
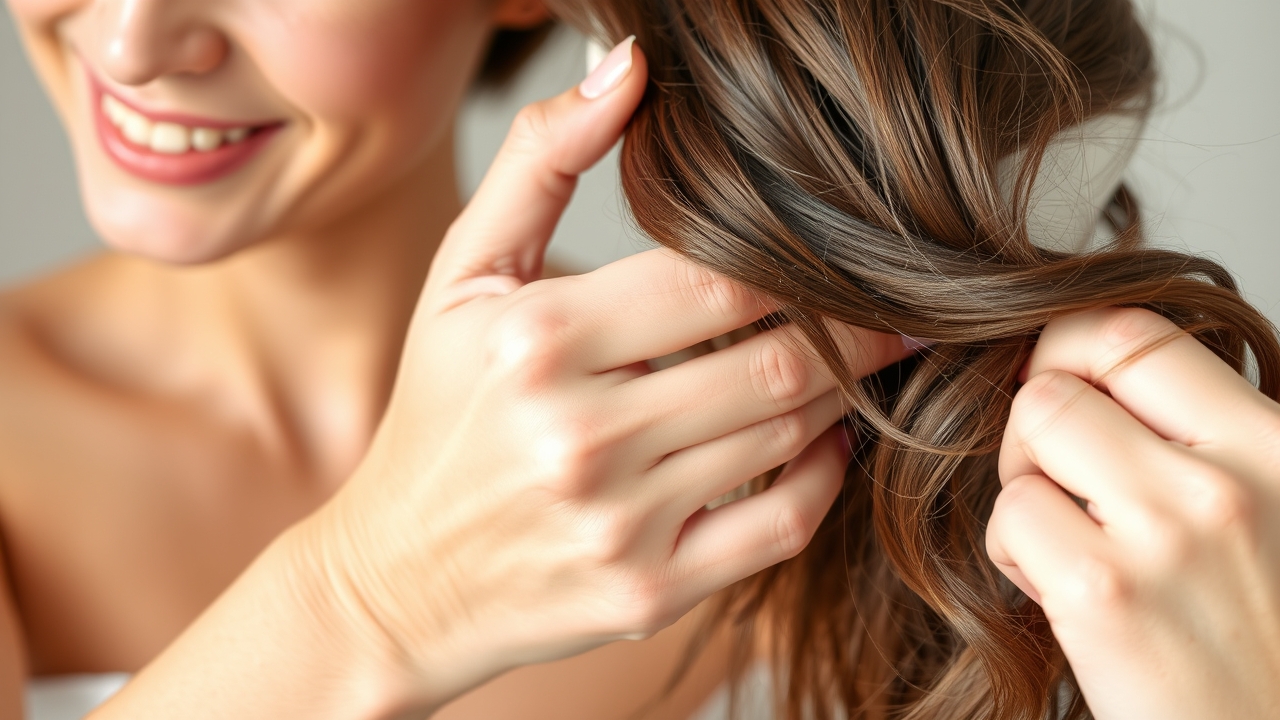
Hair, matsayin hair that has been exposed to heat, chemicals, or environmental stressors, often loses its natural elasticity, moisture, and protective cuticle layer. The cuticle is like the shingles on a roof; when it is flat and intact, hair looks shiny and feels smooth. When it is lifted or chipped due to bleach, high heat, or UV exposure, moisture escapes, and the internal cortex becomes vulnerable. The result is a frizzy, dull, and brittle look that can be hard to manage. Rather than resorting to drastic cuts or chemical fixes, a structured hair repair routine offers a sustainable path to healthier strands.
Understanding the Root Causes of Damage
Before diving into the routine, it is crucial to identify why your hair is struggling. Damage typically falls into three categories: mechanical, chemical, and thermal. Mechanical damage comes from physical friction—rough towel drying, tight hair ties, or over-brushing. Chemical damage is the result of oxidative processes like bleaching, coloring, or perms that break the disulfide bonds within the hair. Thermal damage occurs when high-heat tools melt the protective lipid layer and dehydrate the cortex. By identifying your primary culprit, you can tailor your repair routine to address your specific needs.



How to Repair Damaged Hair: A Realistic Routine
Below is a comprehensive, step‑by‑step guide that blends science, practicality, and everyday products. Each step is designed to work synergistically, ensuring that your hair receives both immediate relief and long‑term resilience.
Step 1: Gentle Cleansing – The Foundation of Repair
The way you wash your hair sets the stage for everything else. If you strip the hair of its natural lipids during the cleansing phase, even the most expensive mask won’t be able to compensate.
- Choose a sulfate‑free shampoo: Sulfates like Sodium Lauryl Sulfate (SLS) are powerful detergents that can strip away the essential oils your hair needs to stay flexible. Look for coco-betaine or decyl glucoside as gentler alternatives.
- Use lukewarm water: Hot water is an enemy to damaged hair. It causes the cuticle to swell and lift, which increases moisture loss and leads to frizz. Rinse with lukewarm water, and if you are feeling brave, a cool rinse at the very end can help seal the cuticle for extra shine.
- Focus on the scalp: When shampooing, massage the scalp with your fingertips to stimulate circulation, but avoid aggressive scrubbing of the mid-lengths and ends. The suds that run down when you rinse are usually enough to clean the rest of the hair.
- Follow with a mild conditioner: Use a conditioner specifically formulated for hydration to begin the process of smoothing the cuticle immediately after cleansing.
Step 2: Deep Conditioning – Re‑introducing Moisture
Damaged hair is often “porous,” meaning it has holes in the cuticle that let moisture out as quickly as it goes in. Deep conditioning acts as a filler to help retain that hydration.
- Weekly Intensive Treatment: Apply a weekly deep‑conditioning mask rich in humectants like glycerin, aloe vera, or hyaluronic acid. Pair these with natural oils such as argan, jojoba, or coconut oil, which help seal the moisture into the cortex.
- The Power of Heat: Cover your hair with a shower cap or a warm, damp towel and let it sit for 20–30 minutes. The gentle heat from your scalp helps the mask penetrate more deeply into the hair shaft.
- Seal the Deal: After rinsing, use a leave‑in conditioner or a light hair oil to create a protective barrier. This locks in the hydration you just worked so hard to provide.
Step 3: Protein Treatment – Rebuilding Structural Integrity
While moisture provides softness, protein provides strength. If your hair feels “mushy” or overly stretchy when wet, you likely have a protein deficiency caused by chemical damage.
- Targeted Protein Application: Use a protein mask once a month, especially if your hair feels limp or has split ends. Look for hydrolyzed proteins (like hydrolyzed wheat, silk, or keratin) because their smaller molecular size allows them to penetrate the hair shaft more effectively.
- Avoid Protein Overload: This is a common mistake. Do not over‑apply protein; excess can make hair stiff, crunchy, and even more prone to breakage. If your hair feels like straw after a treatment, you have likely overdone it.
- The Balance Method: Always follow a protein treatment with a moisturizing conditioner to balance the protein load. The goal is a healthy ratio of protein to moisture.
Step 4: Scalp Care – Healthy Roots, Healthy Hair
Healthy hair begins at the follicle. If your scalp is clogged with product buildup or lacks circulation, the new hair growing out will be weaker from the start.
- Exfoliation: Incorporate a scalp scrub or a salicylic acid-based scalp serum once every two weeks to remove dead skin cells and product residue.
- Stimulation: Use a lightweight massage oil (like rosemary oil diluted in a carrier oil) to stimulate blood flow. Increased circulation ensures that hair follicles receive the nutrients they need to produce strong, resilient hair shafts.
- Cleanliness: Ensure you are not leaving heavy oils on the scalp for too long, as this can lead to inflammation or seborrheic dermatitis, both of which hinder hair growth.
Step 5: Protective Styling – Shielding from Daily Damage
Once you have invested time in repairing your hair, you must protect that investment from further mechanical stress.
- Low-Tension Styles: Adopt loose styles such as braids, low buns, or loose ponytails. Avoid tight, high ponytails that pull on the hairline (traction alopecia) and put stress on the hair’s mid-sections.
- Switch Your Accessories: Use silk or satin scrunchies instead of traditional rubber bands. Silk reduces friction, meaning less breakage when you take your hair down.
- Sleep on Silk: A silk or satin pillowcase is a game-changer. It allows the hair to glide smoothly while you sleep, preventing the tangles and frizz that occur with cotton pillowcases.
The Golden Rules of Heat Styling
If you cannot give up heat styling entirely, you must change how you do it. Heat is one of the fastest ways to destroy the hair’s structural integrity.
1. Always Use a Heat Protectant
Think of heat protectant as sunscreen for your hair. These products contain silicones or polymers that distribute heat more evenly and create a temporary barrier that slows down the conduction of heat to the hair cortex.
2. Lower the Temperature
Most people use their flat irons or curling wands on the highest setting, which can exceed 450°F (230°C). This is far too much for most hair types. Aim for the lowest effective temperature—usually between 300°F and 350°F—and allow the tool to work more slowly rather than blasting it with extreme heat.
3. Dry Hair Before Styling
Never use a flat iron on damp hair. This causes the water inside the hair shaft to turn into steam instantly, which literally explodes the hair cuticle from the inside out (often called “bubble hair”). Always ensure your hair is 100% dry before applying any thermal tool.
Summary Checklist for Hair Repair
| Frequency | Action Item | Primary Benefit |
|---|---|---|
| Every Wash | Sulfate-free shampoo & lukewarm water | Prevents stripping oils |
| Weekly | Deep conditioning mask | Restores moisture/elasticity |
| Monthly | Protein treatment | Rebuilds structural strength |
| Bi-Weekly | Scalp exfoliation | Promotes healthy follicle environment |
| Daily | Leave-in conditioner & silk scrunchies | Protects against environmental/mechanical damage |
Frequently Asked Questions
1. Can damaged hair truly be “repaired”?
Technically, once the hair fiber is physically broken or the cortex is severely compromised, it cannot be permanently “healed” like skin. However, you can significantly improve its appearance, strength, and manageability by filling in the gaps in the cuticle and replenishing lost moisture and protein. Think of it as “repairing the appearance and integrity” rather than biological healing.
2. How long does it take to see results from a repair routine?
Consistency is key. You will likely notice improved softness and shine after 2-3 deep conditioning sessions. However, significant improvements in strength and reduced breakage usually take 4 to 8 weeks of a consistent routine. Remember, you are also waiting for new, healthy hair to grow in from the scalp.
3. Should I cut my hair if it is damaged?
A “dusting” (trimming just the very ends) or a moderate cut is often the most effective way to stop split ends from traveling up the hair shaft. While it feels counterintuitive to lose length, removing the most damaged sections allows your repair routine to work more effectively on the healthy hair remaining.
4. How do I know if I need more protein or more moisture?
Perform a simple elasticity test. Take a single strand of wet hair and gently stretch it. If it stretches and snaps back, your balance is good. If it stretches and stays stretched (limp/mushy), you need protein. If it snaps immediately without stretching, your hair is overly dry and needs moisture.
5. Are expensive hair products worth it for repair?
Not necessarily. While some high-end brands use more sophisticated delivery systems (like smaller molecular weights), many drugstore brands offer excellent sulfate-free and protein-rich options. Focus on the ingredients list rather than the price tag. Look for hydrolyzed proteins, ceramides, and nourishing oils.
Leave a Reply