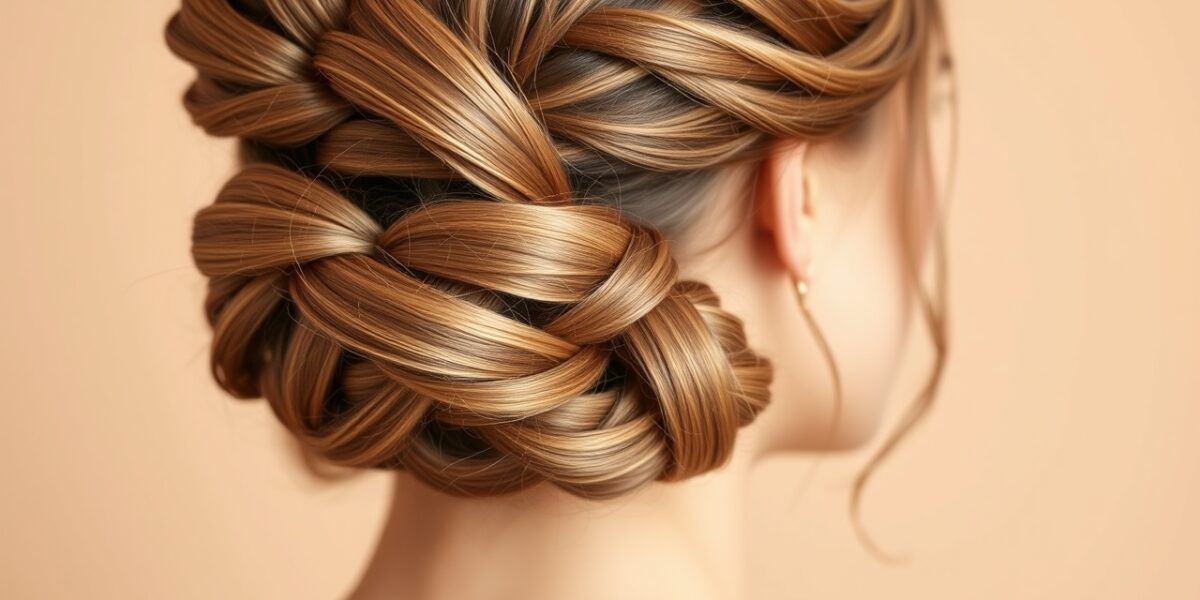
Long hair offers a playground for texture, length, and volume that short cuts simply cannot match. When you stand in front of the mirror with a brush in hand, the possibilities feel endless—yet the weight of all that hair can also make a simple clip feel like a battle. Over the past decade, I’ve worked with clients ranging from fine‑haired college students to thick‑curled brides, and I’ve learned that the secret to a lasting updo lies not in the number of pins you use, but in how you prepare each strand before the first twist.
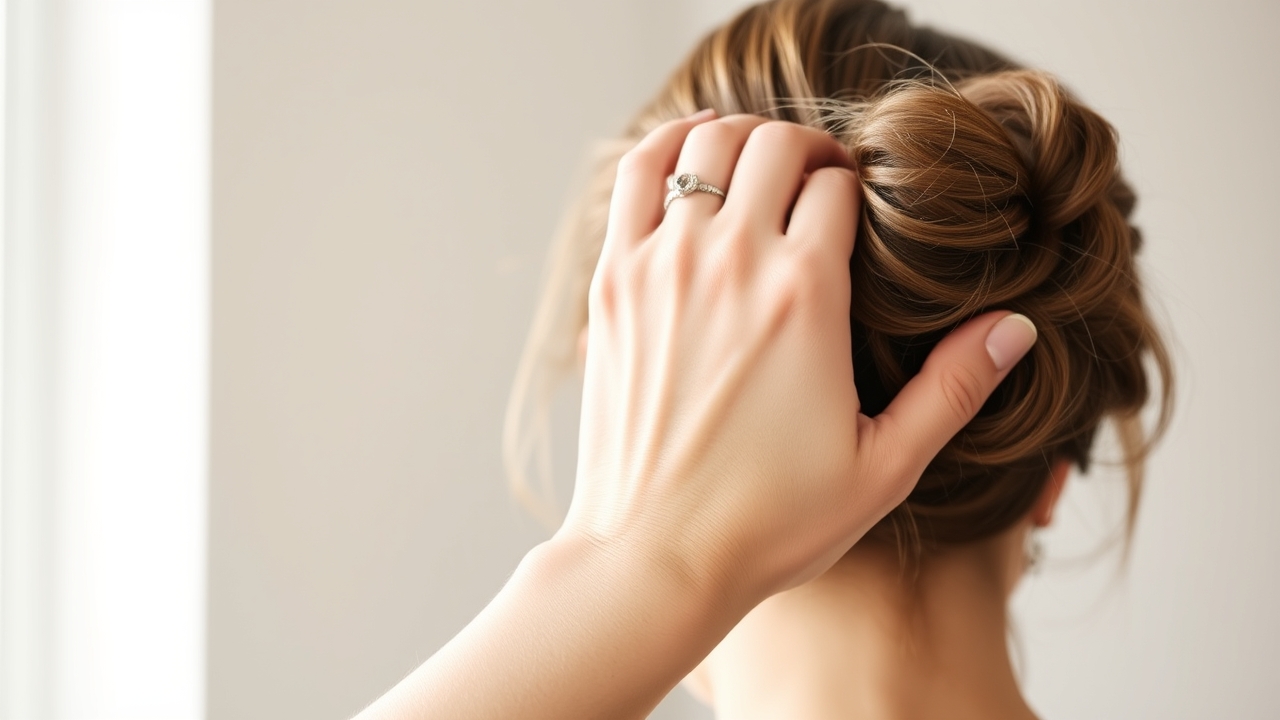
Knowing Your Hair’s Personality
Before you reach for any product, take a moment to assess how your hair behaves on a typical day. Fine strands often lie flat after washing, slipping out of grips within minutes. Thick, coarse hair can feel like a rope that resists shaping, while curly locks spring back with their own momentum. Recognizing these tendencies lets you choose the right prep products and techniques.
Fine Hair: Building Grip Without Weight
If your hair is fine, start with a day‑old wash. The natural oils from the previous day give the shaft just enough tack to hold a style. Spritz a light texturizing spray—look for one containing sea salt or hydrolyzed wheat protein—onto damp hair, then scrunch gently with your fingertips. This creates micro‑roughness that lets bobby pins bite. Avoid heavy mousses; they can weigh fine hair down and cause the updo to sag by mid‑afternoon.



Thick and Curly Hair: Managing Bulk
For thick or curly textures, think in terms of sections rather than a single mass. Begin by applying a lightweight leave‑in conditioner to keep curls defined without adding grease. Then, create two or three loose braids that run from the temple to the nape; these braids act as internal scaffolding. When you gather the hair into a bun or twist, the braids distribute tension across multiple points, reducing the risk of a sore scalp. If you prefer a sleek look, a small amount of smoothing serum applied to the mid‑lengths helps tame frizz without sacrificing volume.
Quick Updos for Busy Mornings
You don’t need a wedding invitation to enjoy the convenience of an updo. The following three styles take under five minutes each, keep hair off your face, and look intentional enough for a coffee run or a board meeting.
1. The Low, Polished Bun
Start by brushing through any tangles with a boar‑bristle brush. Gather your hair at the nape of your neck and secure it with a thin, clear elastic. Instead of pulling the tail all the way through on the final loop, leave it in a loose loop. Take the free ends, wrap them around the base of the ponytail, and tuck the tips under the loop. Secure the wrap with two criss‑crossed bobby pins placed vertically. This bun sits flat against the head, giving a clean line that works well with blazers or high‑neck tops.
2. The Twisted Half‑Up
Section off two one‑inch strands from each temple. Twist each strand backward toward the crown, then cross them over at the back of the head. Secure the intersection with a small, clear elastic or a decorative clip that matches your hair color. The rest of your hair flows freely, giving you the best of both worlds: a lifted front and length on display.
3. The Messy Top Knot with Purpose
Pull your hair into a high ponytail, but don’t smooth it perfectly—leave a few wisps loose for texture. Loop the ponytail through the elastic once, then pull the ends only halfway through to create a bulky bun. Gently tug at the sides of the bun to widen it, aiming for a shape that looks slightly asymmetrical. Finish with a light mist of flexible‑hold hairspray; this keeps flyaways in check without creating a helmet‑like shell.
Elevated Styles for Events and Celebrations
When the dress code calls for cocktail attire or black‑tie, your updo should complement the neckline, earrings, and overall silhouette. These styles require a bit more preparation, but the payoff is a look that stays intact from the ceremony to the last dance.
The Classic Chignon with a Modern Twist
Begin with a low ponytail at the nape. Split the ponytail into two equal sections. Take the left section, wrap it clockwise around the base of the ponytail, and pin it flat against the head with two U‑shaped pins. Repeat with the right section, wrapping counter‑clockwise. This creates a smooth, rounded knot that sits snugly against the scalp. For a softer appearance, pull out two thin tendrils near the temples and curl them with a 1‑inch barrel iron before securing them with a tiny pin. The chignon pairs beautifully with strapless gowns, as it elongates the neck and draws attention to the collarbone.
Braided Crown for Outdoor Affairs
Part your hair down the middle. Starting at the left temple, French‑braid a section that follows the hairline toward the right ear, then continue the braid around the back of the head, ending at the left temple. Secure the braid’s end with a clear elastic, then lift the braid and pin it along the crown, forming a halo. Tuck any loose ends under the braid and pin them discreetly. Add a few small fresh flowers—like baby’s breath or miniature roses—by slipping their stems into the braid before pinning. This style resists wind because the braid distributes tension evenly, making it ideal for garden weddings or beach ceremonies.
The Voluminous French Twist
Sweep all hair to the left side of your head. Starting at the nape, twist the hair upward, keeping the twist tight against the scalp. As you reach the midpoint, begin to fold the twist back on itself, creating a vertical roll. Tuck the tail of the twist into the fold and secure it with three long U‑shaped pins spaced evenly along the length. For extra volume, lightly tease the crown before sweeping the hair to the side; this adds lift without compromising the sleek silhouette. The French twist works exceptionally well with high‑neck dresses, as it keeps the hair off the collar and showcases intricate neckline detailing.
Tailoring Updos to Dress Necklines
Matching your hairstyle to your outfit prevents visual competition and creates a harmonious look. Consider these guidelines when choosing an updo for a specific event.
- High necklines or turtlenecks: Opt for a high placement—think a twisted top knot or a sleek French twist—to keep the focus on the dress’s detailing.
- Strapless or sweetheart necklines: Both low and high placements work. A romantic low chignon adds softness, while a voluminous bun adds drama.
- Backless or low‑back dresses: Choose a style that sweeps to one side or sits high and centered, leaving the spine fully visible. A side‑swept twist or a low, off‑center bun showcases the back without interference.
For bridal parties, aim for cohesion. Bridesmaids can wear a variation of the same base style—such as a low braided bun—while the bride adds personal touches like a jeweled hairpin or a veil‑compatible twist.
Pre‑Styling Rituals That Make a Difference
The moment you touch a pin, the foundation you’ve laid determines whether the style will hold for an hour or all night. Treat your hair like a canvas that needs priming.
Step‑by‑Step Prep for a Sleek Finish
- Wash with a sulfate‑free shampoo and follow with a lightweight conditioner.
- While hair is damp, apply a nickel‑sized amount of smoothing serum to the mid‑lengths and ends.
- Blow‑dry using a round brush, directing the airflow downward to flatten the cuticle.
- Finish with a light mist of anti‑humidity spray to block frizz.
Step‑by‑Step Prep for Texture and Volume
- Start with second‑day hair or spray a dry‑texturizing spray onto roots.
- Use a teasing brush at the crown, lifting sections in 1‑inch increments and back‑combing lightly.
- Set the teased volume with a light hold hairspray, then smooth the top layer with a boar‑bristle brush for a polished surface.
- Add a pinch of volumizing powder at the roots for extra grip before pinning.
Investing just five minutes in this prep can extend the life of your updo by several hours, especially when you’re dancing or outdoors.
Essential Tools for the At‑Home Stylist
Having the right tools on hand turns a frustrating attempt into a confident creation. Below is a checklist of items that belong in every long‑hair updo kit.
- Hair ties: Keep a variety—clear elastics for invisible holds, fabric‑covered ties for thicker ponytails, and spiral ties that reduce breakage.
- Bobby pins: Stock them in shades that match your hair (blonde, brunette, black) so they disappear.
- U‑shaped pins: Ideal for securing large buns, chignons, and French twists; their shape grips more hair than a standard pin.
- Teasing brush: A fine‑bristled brush designed for back‑combing without damaging the cuticle.
- Texturizing spray: Choose a formula with sea salt or rice starch for grip without stiffness.
- Finishing spray: A flexible‑hold mist that lets you restyle a strand if needed.
Optional but helpful: a small mirror with a stand for checking the back of your head, and a silk scarf to protect your style while you sleep.
Common Pitfalls and How to Avoid Them
Even seasoned stylists encounter hiccups. Recognizing these early saves time and frustration.
Over‑reliance on Hairspray
Spraying until the helmet forms creates a brittle finish that cracks when you move. Instead, apply hairspray in layers: a light mist after pinning to set the base, then a final, targeted spray only on any loose tendrils.
Neglecting the Side Profile
It’s easy to focus on the mirror’s front view and forget how the bun looks from the side. Periodically turn your head 90 degrees and check for lopsided volume or gaps. Adjust by pulling a few strands tighter or loosening a section with your fingers.
Using Undersized Pins
Standard bobby pins can slide out of thick hair, especially when the style bears weight. Opt for larger pins or double‑up two pins crossed to increase holding power. For especially heavy buns, consider using a hairpin with a spring mechanism.
Frequently Asked Questions
What are the best updo hairstyles for long hair if I have thin hair?
For thin strands, the goal is to create the illusion of thickness. Start by teasing the crown to add height, then use a small hair donut or foam pad to bulk up the bun before wrapping the hair around it. A texturizing spray with rice starch adds grip, allowing pins to stay in place without slipping.
How can I make an updo last all night?
Longevity comes from preparation and pinning strategy. Begin with hair that has a light product—such as mousse or a volumizing spray—to give the shaft texture. Use enough pins to anchor each section; if you feel any movement, add another pin immediately rather than waiting for a strand to fall. Finish with a flexible‑hold spray, and if you’ll be dancing, consider a light mist of strong‑hold spray only on the outermost layer.
Can I do these updos on my own?
Many of the everyday styles—low bun, twisted half‑up, messy top knot—are beginner‑friendly and can be mastered with a mirror and a bit of practice. More intricate formal looks, like a structured French twist or a braided crown, benefit from a rehearsal run‑through a day or two before the event. Set up your mirror, gather your tools, and walk through each step slowly; muscle memory builds quickly.
How do I prevent my updo from feeling too heavy?
Distribute the weight across multiple anchor points instead of piling all hair into one massive bun. For example, create a half‑up braid that feeds into a low bun, or form two smaller buns positioned symmetrically on either side of the crown. This approach reduces tension on the scalp and keeps the style comfortable for hours.
What should I do if my hair is too short for an updo?
Even with layered cuts, you can still achieve an updo. Secure any shorter pieces with tiny clear elastics to form mini‑ponytails, then tuck those ponytails into the main updo. Use a dab of lightweight pomade or wax to smooth down flyaways, giving a polished finish without sacrificing hold.
For further reading, see related references on Wikipedia.
Leave a Reply