⭐ Featured Article
 Trendy Haircuts
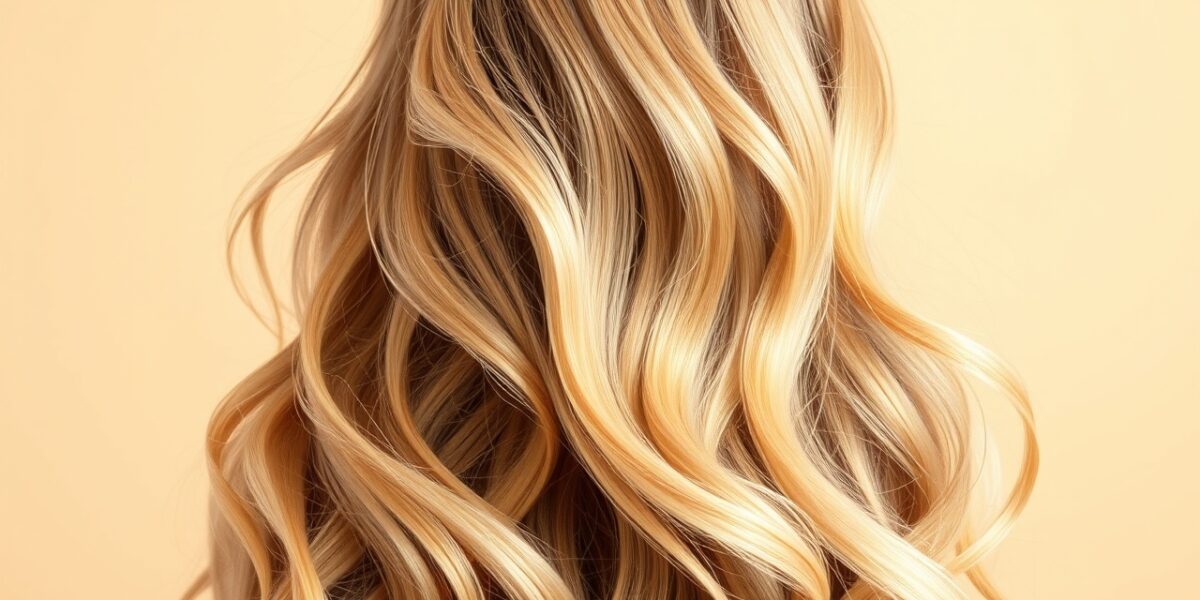
Balayage vs Highlights: Which Hair Color Is Best for You?
Confused by salon menus? We break down everything you need to know about balayage vs highlights to help you choose the perfect hair coloring technique for your hair type and maintenance level.
📰 Latest Articles
View All →