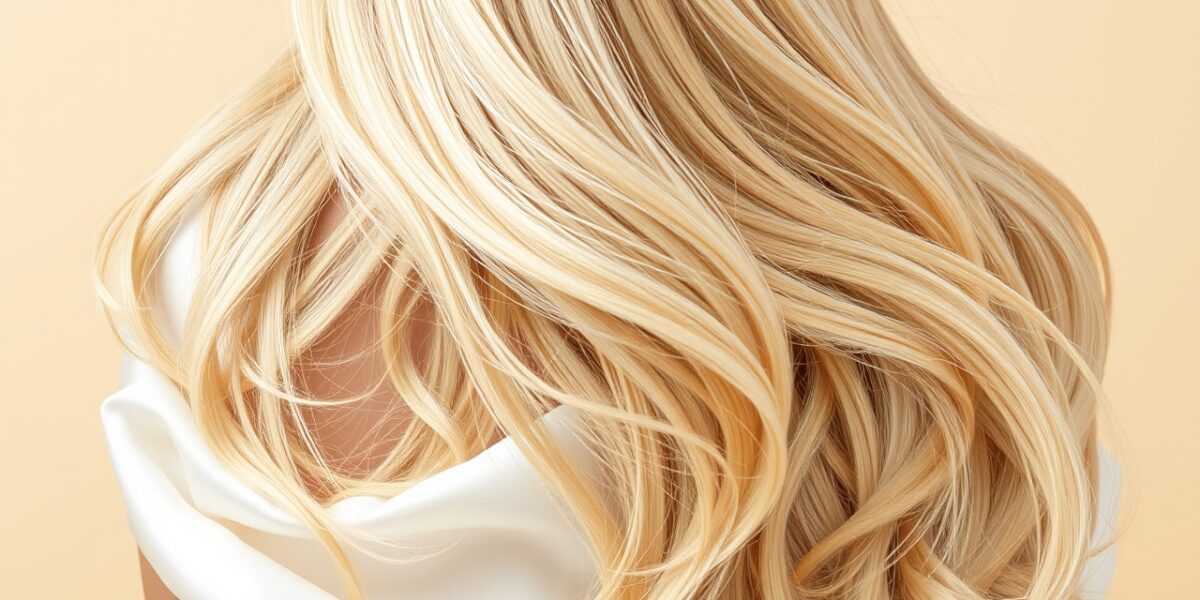
When you think of a beach vacation, the first thing that comes to mind is the effortless, tousled look that surfers and sun‑bathers wear. That is the classic beach wave: loose, slightly uneven, and full of texture. How to get beach waves at home is a question that keeps popping up in salons and on social media. The answer isn’t a single trick; it’s a combination of the right products, the right tools, and a few intentional steps that mimic the natural forces of wind and salt.
What Exactly Are Beach Waves?
Beach waves differ from tight curls in a few key ways. They are:
- Looser: The bend is gentle, not a tight spiral.
- Uneven: A natural, slightly chaotic look that feels hand‑made.
- Textured: A subtle grit that lets the hair hold shape without looking too polished.
- Root‑heavy: Volume starts at the scalp and tapers down.
Understanding these characteristics helps you decide which tools and techniques to use. If you’re aiming for a beachy look, you’re not trying to create a perfect ringlet; you’re trying to give your hair a relaxed, sun‑blasted feel.



Step 1: Prep Your Hair for Texture
Texture starts with a good foundation. If your hair is freshly washed and slick, it will slide off the wand or braid. Aim for “second‑day” hair or use a lightweight leave‑in that keeps moisture but allows grip.
Here’s a quick prep routine:
- Wash and condition: Use a sulfate‑free shampoo and a lightweight conditioner that focuses on the ends. Skip the heavy cream at the roots.
- Apply a volumizing mousse: Focus on the roots, especially if you have fine hair. For thicker hair, a smoothing serum can keep frizz in check.
- Let it air‑dry or use a diffuser: If you’re short on time, a 30‑second diffuser on low heat can give you a dry, textured base.
- Finish with a light spray: A sea‑salt spray or a texturizing mousse will give the hair a slight tackiness that helps the wave hold.
Tool Time: Choosing the Right Wand
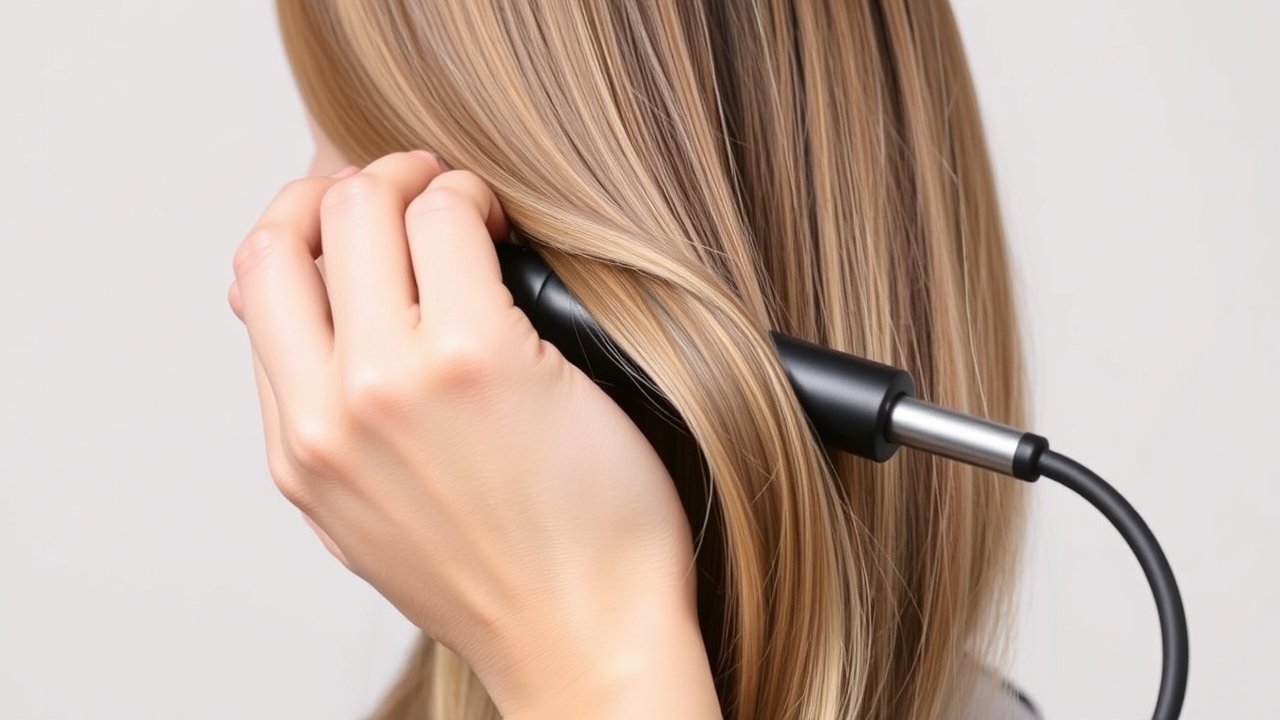
The curling wand is the workhorse for beach waves because it has no clamp, preventing harsh creases. Pick a barrel size that matches your hair length:
- 1.0–1.25″ for short to medium length.
- 1.25–1.5″ for long or thicker hair.
Set the wand to 360–400°F (185–200°C). If you’re heat‑sensitive, lower the temperature and increase the hold time.
The Professional Beachy Wave Tutorial
Step 1: Sectioning
Divide your hair into three horizontal layers: bottom, middle, and top. Use clips to keep each section separate. This prevents overlapping heat and ensures even coverage.
Step 2: The Wrap Technique
Take a 1‑inch section from the middle of the strand. Wrap it around the wand, leaving the last 2 inches of hair free. Keep the wrap loose; a tight coil will create a tight curl.
Step 3: Directional Alternation
Alternate the direction of each wrap. Curl one section away from the face, the next toward the face. This creates a natural, layered look.
Step 4: Release and Cool
Release the hair after 5–8 seconds. Let it cool completely before touching. The cooler the curl, the more it will set.
Step 5: Break It Up
Use your fingers to gently separate the curls. Avoid a brush; a wide‑tooth comb or a boar‑bristle brush will soften edges without flattening the wave.
Step 6: Lock the Texture
Spray a light mist of sea‑salt spray or a dry texture spray. Finish with a light hold hairspray. Avoid heavy gels that will stiffen the hair.
Heatless Alternatives for the Healthier Option
Heat can damage, especially if you’re styling daily. Heatless methods give you the same beach vibe with less risk.
Braid Method
Spray your hair lightly with a salt spray. Divide into two large braids:
- French braids for tighter waves.
- Three‑strand braids for a looser look.
Secure at the ends with a scrunchie and sleep. In the morning, unravel and fluff with your fingers.
Robe Tie or Legging Method
Wrap damp hair around a soft fabric tube (e.g., a bathrobe belt). Start at the crown and work your way down, adding more hair as you go. Secure the ends with a scrunchie. This creates a larger wave that feels like a beachy halo.
Foam Rollers
Use medium‑size foam rollers on damp hair. Roll from the roots to the ends, then let the hair dry. Unroll for a soft, beachy look.
Customizing Waves for Every Hair Type
- Fine Hair: Light mousse, 1‑inch wand, avoid heavy serum.
- Thick Hair: 1.25‑1.5″ wand, smoothing serum, volumizing spray.
- Curly/Coily Hair: Use a wide‑barrel wand or a flat iron to create a gentle bend.
- Straight Hair: Texturizing spray before and after curling; use a boar‑bristle brush to add volume.
Finishing Touches: From Curls to Waves
Once the curls have cooled, it’s time to soften them into waves:
- Fingers first: Gently tease the roots to add lift.
- Wide‑tooth comb: Use on damp hair to break up the curl pattern.
- Texture spray: Lightly mist to lock the shape.
- Optional: A light hairspray: For extra hold, but keep it airy.
Common Mistakes and How to Avoid Them
- Starting too close to the root: Leave a 2‑inch gap to avoid a “bubble” effect.
- Over‑heating: Keep each section on the wand for no more than 8 seconds.
- Missing face‑framing pieces: Curl the strands around the face away from the forehead.
- Not letting curls cool: Touching too soon will flatten the wave.
Maintenance and Longevity
Beach waves are designed to look better as they fall. To keep them fresh:
- Sleep on a silk or satin pillowcase.
- Use a light sea‑salt spray in the morning to revive the texture.
- Apply a dry shampoo at the roots to restore volume.
- Refresh the waves with a damp wash and a quick blow‑dry on low heat.
The Science Behind Texture
Salt sprays add minerals that increase friction between strands, allowing them to “grip” each other. When you heat hair, you break hydrogen bonds, and cooling lets them reform in a new shape. That’s why letting the hair cool is crucial for lasting waves. For a deeper dive into the chemistry of hair, check out this Wikipedia article.
Integrating Waves into Your Overall Look
Beach waves work best with certain cuts:
- Long layers: They give the waves room to bounce.
- Bob cuts: Focus on the ends for a flipped, beachy finish.
- Medium length: Combine a top‑layer wand technique with bottom‑layer braids for depth.
Want to explore more styling options? Visit Professional Hair Styling Options for cuts that complement beach waves.
Frequently Asked Questions
How to get beach waves if I have very straight hair?
Start with a texturizing mousse on damp hair, then blow‑dry to dry. Use a 1‑inch wand and finish with a sea‑salt spray to lock the shape.
Can I get beach waves without using any heat tools?
Yes. Braiding damp hair, using a robe tie, or foam rollers are all heatless methods that set over several hours.
What is the best curling iron size for beach waves?
A 1.25‑inch barrel is ideal for most lengths. Shorter hair works best with 1‑inch, while longer, thicker hair can handle 1.5‑inch for a looser look.
Why do my beach waves turn into tight curls?
Wrapping too tightly or curling the ends creates tight curls. Leave the last 2 inches free and wrap loosely to maintain a beachy bend.
How often should I use salt spray for textured waves?
Use it 2–3 times a week and follow up with a deep conditioning mask once a week to counteract the drying effect.
Leave a Reply