
How to get beach waves can be achieved with a few simple steps and the right techniques. This guide walks you through every part of the process, from choosing the tools to applying finishing products, so you can create that relaxed, sun‑kissed look right in your bathroom.
How to Get Beach Waves
When you ask how to get beach waves, the answer lies in understanding the natural movement of your hair and amplifying it with the right touch. Beach waves are all about texture, volume, and a little controlled chaos. They’re not a rigid curl; they’re a soft, tousled wave that feels like you just stepped out of a seaside breeze. To truly master this style, it’s essential to grasp the science behind wave formation. Unlike tight curls, beach waves rely on gradient tension and natural hair elasticity. The goal is to mimic the way wind shapes hair on a shore—soft, uneven, and effortless. This requires a combination of technique, product application, and patience. For instance, if your hair is fine, you’ll need to work with smaller sections to avoid flatness, while thick hair may require more volume-boosting products to hold the shape.
Tools You’ll Need
- Large barrel curling iron (30mm or larger): A larger barrel creates looser waves, which are ideal for a beachy look. Smaller barrels produce tighter curls, which can look artificial. For example, a 38mm barrel is perfect for medium-length hair, while a 45mm barrel works better for long hair.
- Heat-resistant spray or light mist: This protects your hair from heat damage. Brands like T3 or Kerastase offer effective options. If you prefer a heatless method, a sea-salt spray (like Redken Sea Salt) adds texture without drying your hair.
- Volumizing mousse or lightweight foam: Products like Stylist Tools Volumizing Mousse or Olaplex No. 3 are great for adding lift at the roots. Avoid heavy mousses, as they can weigh down the waves.
- Sea-salt spray (optional): This is a game-changer for texture. It mimics the grit of seawater, encouraging natural wave formation. For a DIY alternative, mix 1 part table salt with 2 parts water and spray it on damp hair.
- Wide-tooth comb: Essential for detangling without disrupting the waves. A comb with 30-40 teeth is ideal for maintaining the loose texture.
- Hair clips or sections: These keep your hair organized during styling. For example, clip the top section while working on the sides to prevent tangling.
- Hair dryer with a diffuser: If you prefer a dry method, a diffuser attachment helps lift the roots and distribute heat evenly. Set it to low heat to avoid frizz.
Each tool plays a specific role in achieving the desired texture. For instance, the curling iron is for controlled waves, while the sea-salt spray adds natural texture. If you’re using a diffuser, ensure it’s set to a low speed to prevent heat damage. Always test products on a small section of hair first to check for adverse reactions.



Preparation: Clean, Condition, and Protect
Start with freshly washed hair. Clean, conditioned, and lightly towel-dry your strands. If you’re using heat, apply a heat-protectant mist to shield your hair from damage. The key to how to get beach waves is to start with a clean canvas that won’t cling or frizz. For example, if your hair is prone to frizz, use a sulfate-free shampoo and a moisturizing conditioner. Avoid over-washing, as this can strip natural oils. Instead, opt for a clarifying treatment once a week to maintain hair health.
Adjusting for Different Hair Types
Hair type significantly impacts the outcome. For fine hair, use a smaller barrel or a heatless method to avoid flatness. Thick hair may require a larger barrel or extra volumizing products. For example, if you have curly hair, focus on defining the waves rather than creating them from scratch. Straight hair benefits from the curling iron method, while wavy hair can use the sea-salt spray to enhance its natural texture.
Sectioning Your Hair
Divide your hair into manageable sections. For a medium-length cut, split into four sections: top, middle, bottom, and a back section. Use clips to keep each section separate. This makes curling easier and ensures even distribution of waves. For example, if you have long hair, divide it into six sections to avoid overwhelm. The goal is to work on one section at a time, ensuring each wave is consistent. Use a wide-tooth comb to gently detangle each section before styling.
Pro Tip: The Importance of Sectioning
Sectioning isn’t just about convenience—it’s about control. By working on smaller areas, you can apply products more evenly and avoid over-manipulating the hair. This is especially important for achieving a natural look. For instance, if you skip sectioning and try to curl your entire head at once, you’ll likely end up with a rigid, uniform wave that lacks the beachy charm.
Technique 1: Curling Iron Method
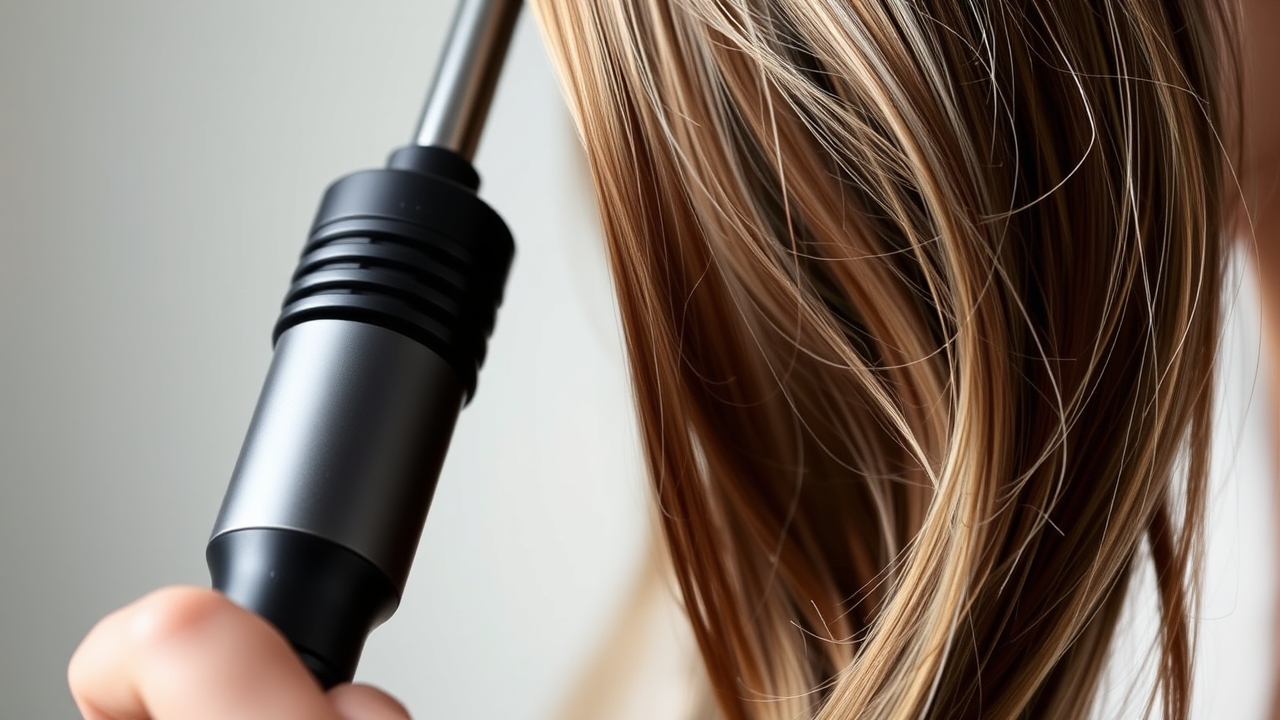
Using a curling iron is a common method to learn how to get beach waves. Hold the iron about 2-inch from the scalp and wrap a small amount of hair around the barrel. Let the heat sit for about 10-12 seconds, then release. For a natural look, alternate the direction of the curl: curl one section away from the face, the next toward the face, and so on. This mimics the irregular pattern of waves. After curling, let the hair cool in your hand for a minute before gently pulling the curl apart with your fingers. This creates a loose, textured shape rather than a tight coil.
Step-by-Step Guide to Curling Iron Method
- Section your hair: Divide into 4-6 sections based on hair length.
- Apply product: Use a volumizing mousse or sea-salt spray on each section.
- Curl from the roots: Wrap 1-2 inches of hair around the barrel, starting at the roots. Hold for 10-12 seconds.
- Release and cool: Let the curl cool in your hand for 30 seconds.
- Gently separate: Use your fingers to loosen the curl, creating a wave.
- Repeat: Work through each section, alternating curl directions.
For example, if you’re curling the top section, start with the left side of your head, then alternate to the right. This creates depth and dimension. Avoid over-curling; the goal is a relaxed wave, not a tight spiral. If you notice frizz, apply a small amount of serum to the ends to smooth it down.
Technique 2: Heatless, Sea-Salt Spray
To truly understand how to get beach waves without heat, consider a sea-salt spray. Lightly mist your damp hair with a salt spray, then scrunch with your hands. The salt adds grit, which encourages natural waves. Finish with a light touch of a lightweight mousse for volume. If you prefer a dry method, use a diffuser attachment on a low-heat setting. Section your hair and blow-dry while scrunching upward. The diffuser lifts the roots and creates that effortless wave.
How to Use Sea-Salt Spray Effectively
Start with damp hair, as the moisture helps the salt adhere. Spray the product evenly, avoiding the roots to prevent stiffness. Scrunch the hair from roots to ends, using your palms to create friction. This mimics the action of wind shaping hair. For best results, apply the spray in a well-ventilated area, as the salt can be messy. If you don’t have a sea-salt spray, a DIY version can be made by mixing 1 tablespoon of table salt with 2 tablespoons of water in a spray bottle.
Dry Method with Diffuser
If you’re using a dryer, set it to low heat and attach the diffuser. Section your hair and blow-dry each section while scrunching upward. The diffuser’s airflow helps distribute heat evenly, preventing hot spots. For example, if you have thick hair, you may need to dry each section for 30-60 seconds. The key is to avoid over-drying, which can lead to frizz. After drying, apply a lightweight mousse to add volume and define the waves.
Technique 3: Braiding for Texture
Another simple way to get beach waves is braiding. Divide your hair into several small sections and braid each one loosely. Let the braids sit overnight or for at least 30 minutes. When you unravel them, you’ll find a natural, wavy pattern. This method works best on hair that’s slightly damp. For example, if you have straight hair, braiding can help create waves without heat. If your hair is curly, braiding can enhance the natural texture.
Step-by-Step Braiding Technique
- Section your hair: Divide into 3-5 sections, depending on hair length.
- Braid each section: Use a loose braid, ensuring it’s not too tight. For example, a three-strand braid is ideal for short sections.
- Secure the braids: Use hair clips to hold them in place.
- Let sit: Leave the braids for 30 minutes to 2 hours, depending on hair type.
- Unravel: Gently pull the braids apart, starting from the ends. Use a wide-tooth comb to separate the waves.
This method is particularly useful for those who want to avoid heat. However, it requires patience, as the waves may not be as defined as with a curling iron. For best results, use a hair serum or mousse before braiding to add hold and prevent frizz.
Finishing Touches: Volume and Texture
Once you’ve curled or styled your waves, it’s time to add volume. Apply a volumizing mousse to the roots and lightly scrunch the hair. Use a wide-tooth comb to detangle, keeping the waves loose. For a final touch, lightly mist the hair with a sea-salt spray or a light setting spray. This keeps the waves in place without weighing them down. Avoid heavy creams or butter, which can flatten the texture.
Choosing the Right Finishing Products
Opt for products that enhance texture without adding bulk. For example, a setting spray like Moroccanoil Control Air or a texturizing spray like Redken Dry Texturizing Spray can lock in the waves. If you’re using a diffuser, apply a serum to the ends to prevent frizz. The key is to balance volume and texture—too much product can make the waves look artificial.
Maintenance: Keeping Waves Fresh
Remember that how to get beach waves is an ongoing process. To keep the waves looking fresh, avoid brushing your hair between styles. If you’re at a beach, rinse with fresh water and pat dry. For daily wear, use a dry shampoo on the roots to absorb excess oil, then fluff the waves with your fingers. Avoid over-washing, as this can strip natural oils and make the waves lose their shape.
Daily Maintenance Tips
- Use dry shampoo: Apply to the roots to extend the life of your waves.
- Avoid heat styling: Excessive heat can damage the hair and flatten the waves.
- Reapply product: If the waves start to flatten, reapply a small amount of mousse or sea-salt spray.
- Protect from humidity: Humid weather can cause frizz, so consider using a humidity-resistant serum.
Common Mistakes to Avoid
- Using too much heat: Over-heating can cause frizz and breakage. Stick to low or medium heat settings.
- Applying heavy products: Creams or butters can weigh down the waves. Opt for lightweight, texturizing products instead.
- Over-tensioning the curls: Tight curls create a rigid look, not the relaxed wave. Let the hair cool naturally after curling.
- Ignoring hair health: Damaged hair won’t hold waves well. Regular trims and deep conditioning are essential.
Wavy Hair Styling Tips
When styling wavy hair, always work from the bottom up. Start at the ends and work your way to the roots to avoid creating a “piled” effect. Use your fingers, not a brush, to maintain texture. For a more dramatic effect, try a “reverse” technique: curl each section away from the face, then reverse the direction on the next section. This adds depth and dimension, making the waves appear more natural.
Reverse Curl Technique
This method involves alternating the direction of curls to create a layered effect. For example, curl the top section away from the face, then the next section toward the face, and so on. This mimics the natural movement of waves and prevents a uniform look. It’s especially effective for medium to long hair.
Textured Waves for All Hair Types
Whether you have fine or thick strands, the key to textured waves is to keep the waves loose. If your hair is fine, use a smaller barrel or a heatless method to avoid flatness. If it’s thick, use a larger barrel or add a heat-protectant spray. The objective is to create a subtle ripple, not a tight coil. For example, if you have thick hair, apply a volumizing mousse to the roots and use a 45mm curling iron to create loose waves. For fine hair, a 25mm barrel or a sea-salt spray can add the necessary texture.
When to Use the Beachy Waves Tutorial
If you’re heading to a casual brunch, a beach day, or a relaxed evening out, the beachy waves tutorial is perfect. It’s low-maintenance and versatile. Pair it with a simple updo or let it flow naturally for a carefree look. For example, if you’re going to a wedding, you can add a loose bun or a side part to elevate the style. The key is to keep it natural and effortless.
FAQ
- How to get beach waves? Start with clean, slightly damp hair. Use a curling iron with a large barrel, alternate curl direction, or use sea-salt spray and scrunch. Finish with a lightweight mousse and a setting spray. For fine hair, use a smaller barrel; for thick hair, add volumizing products.
- Can I use a regular curling iron for beach waves? Yes, but choose a large barrel (30mm or larger) to create loose waves. Avoid small barrels, which produce tight curls. Adjust the heat setting to medium to prevent damage.
- What’s the best way to add volume to beach waves? Apply a volumizing mousse to the roots and scrunch the hair. Use a wide-tooth comb to separate the waves. For extra lift, use a diffuser on a low-heat setting while blow-drying.
- How do I keep beach waves fresh all day? Avoid brushing your hair. Use a dry shampoo on the roots to absorb oil. Reapply a light setting spray or sea-salt spray as needed. If the waves flatten, gently scrunch them with your hands.
- Is a sea-salt spray necessary for beach waves? Not mandatory, but it adds natural texture. If you skip it, use a volumizing mousse or a texturizing spray. The salt spray is ideal for enhancing the beachy look, especially in humid conditions.
Conclusion
So next time you wonder how to get beach waves, remember that the core of the style is texture, volume, and a relaxed touch. With the right tools, a few simple techniques, and a bit of practice, you can achieve that effortless, sun-kissed look without ever stepping foot on a beach. Experiment with different methods to find what works best for your hair type. For instance, if you have curly hair, focus on enhancing the natural waves rather than creating them. If you have straight hair, the curling iron or braiding method will be more effective. The key is to embrace the imperfections and let the waves look effortless.
For more hair care insights, visit our site and explore additional tutorials and styling tips. Whether you’re a beginner or an experienced stylist, mastering beach waves is a rewarding skill that adds versatility to your hairstyle repertoire.
For further reading, see related references on Wikipedia.
Leave a Reply