When you walk into a salon, the first question that often surfaces is balayage vs highlights. Both promise a fresh, dimensional look, yet the way they’re applied and the results they deliver can be worlds apart. This guide will walk you through the core differences, the pros and cons of each, and practical advice on how to decide which method aligns with your hair type, lifestyle, and aesthetic goals.
Balayage vs Highlights: The Core Differences
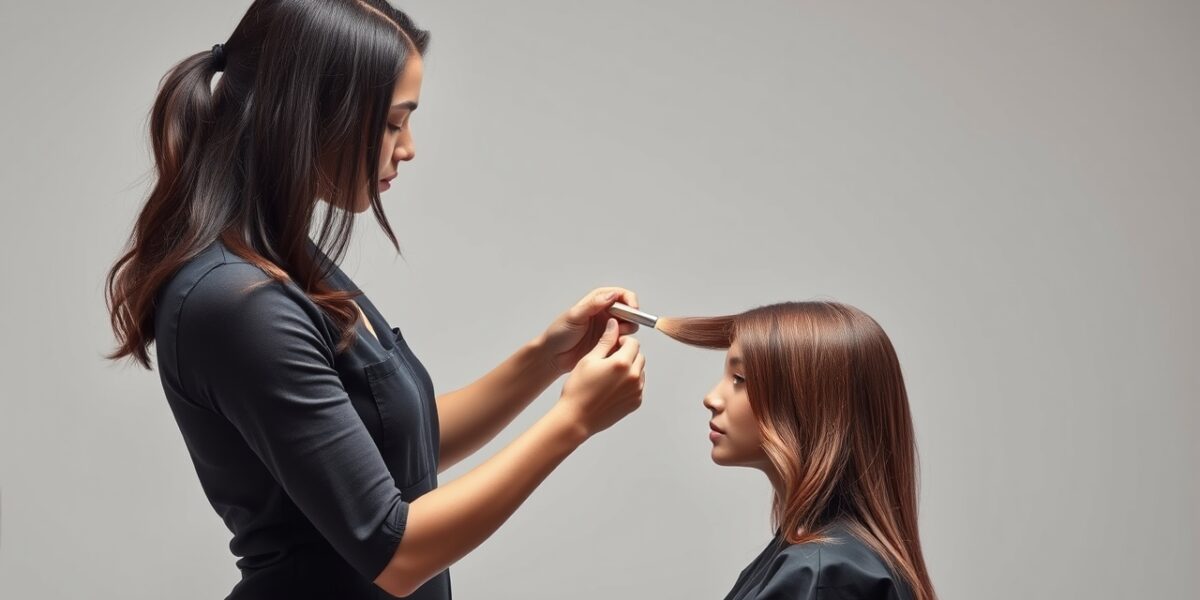
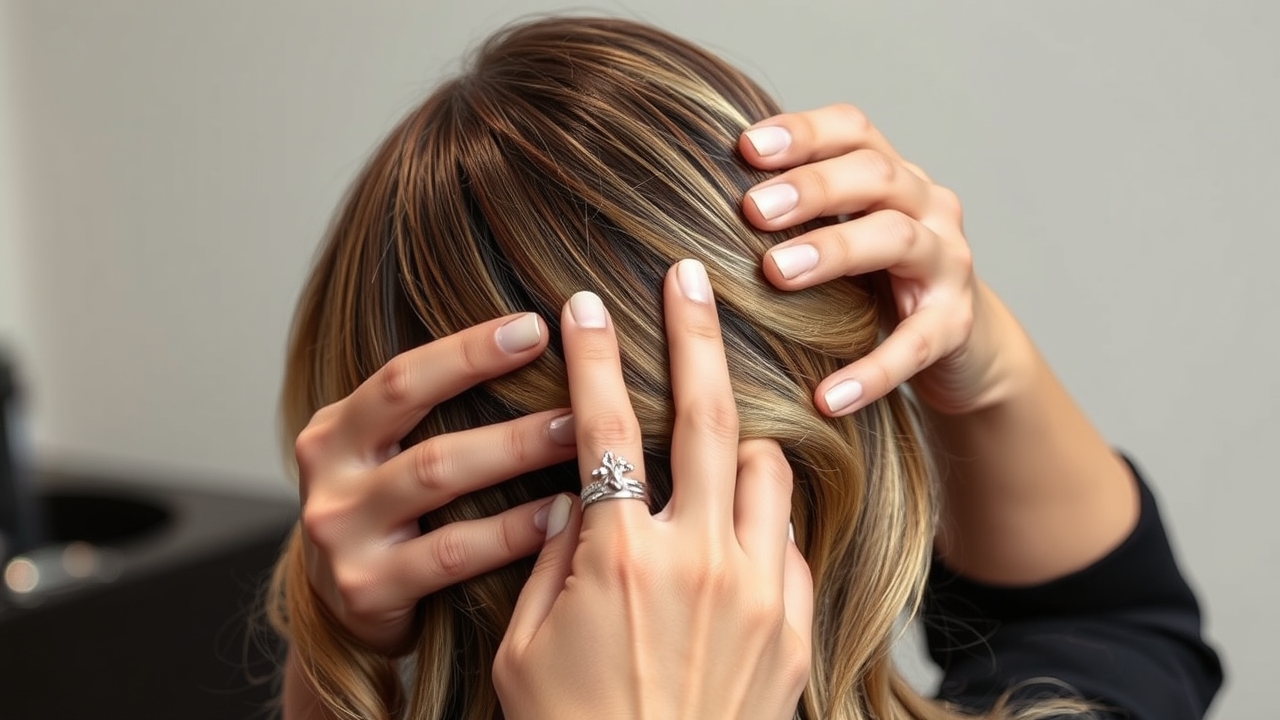
At first glance, a balayage and a set of foil highlights might appear similar—they both introduce lighter strands into darker hair. The distinction lies in how the color is applied. Balayage is a freehand technique: the stylist sweeps pigment across the shaft, creating a gradient that mimics sun‑kissed hair. Highlights, on the other hand, use foils or paper caps to isolate precise sections, resulting in sharp, defined contrast.
Balayage Explained
The word balayage comes from the French verb “balayer”, meaning “to sweep.” It was popularized in the early 1990s by Frenchurl: Wikipedia entry on Balayage. A skilled stylist starts at the roots or at the mid‑length, depending on the desired lift, and gently applies color in sweeping strokes that blend into the base shade. The result is a natural, low‑maintenance gradient that grows out gracefully.



Highlights Breakdown
Highlights rely on foils or paper caps to separate individual strands or small clusters. The color developer is applied, sealed, and left to process. When the foils are removed, a clean line of light color stands out against the darker background. This method is ideal for clients who want a high‑contrast, noticeable lift or a defined pattern.
Foils vs Balayage: How Technique Shapes the Outcome
Choosing between foils and balayage isn’t just a stylistic decision—it also determines how often you’ll need to return for touch‑ups. Foils create a distinct line of color that can show roots quickly, especially when the contrast is stark. Balayage’s freehand strokes allow the new pigment to blend seamlessly with the growing hair, extending the time before a noticeable root line appears.
Root Growth and Maintenance
- Foil highlights: Roots become visible in 3–4 weeks if you’re moving from dark to light. Touch‑ups are usually scheduled every 4–6 weeks.
- Balayage: Root regrowth is less noticeable because the color gradually fades into the base. You can often wait 6–8 weeks before the next appointment.
Color Consistency
Foil highlights deliver a uniform band of color, which can feel very precise. Balayage offers a softer gradient that may appear slightly uneven, but that intentional variability is what gives the look its natural charm.
Which Is Better Hair? Choosing Based on Hair Type
No single technique works best for everyone, but certain textures and conditions favor one over the other.
Fine or Thinning Hair
Balayage is often the preferred choice because it lifts the hair subtly without adding weight. Foils can create visible lines that accentuate thinning areas, making the hair feel thinner.
Coarse or Curly Hair
Foil highlights can hold a defined shape on textured strands, giving a polished look. If you prefer a softer, blended style, ask your stylist to keep balayage strokes short and less intense so the pigment doesn’t overwhelm the curls.
Color of Origin
Dark roots with bright balayage tend to look natural because the gradient smooths the contrast. If you’re moving from very dark to very light, foil highlights might deliver a more striking statement.
Maintenance and Upkeep: What to Expect
Both techniques require periodic touch‑ups, but the frequency and effort differ.
Balayage Maintenance
- Touch‑up every 6–8 weeks.
- Use sulfate‑free shampoos to preserve color.
- Deep condition every 2–3 weeks to keep strands healthy.
Highlight Maintenance
- Touch‑up every 4–6 weeks.
- Root touch‑ups are often needed to avoid color mismatch.
- Use color‑protecting conditioners and avoid excessive heat styling.
Step‑by‑Step: How a Stylist Applies Each Technique
Balayage Application
1. Prep: The stylist sections the hair, typically starting at the back to keep the front visible for adjustments.
2. Color Selection: A shade is chosen based on the client’s base color and desired lift—often one or two shades lighter.
3. Freehand Painting: Using a brush or sponge, the stylist drapes the color in sweeping strokes, starting from the roots and moving outward or vice versa, depending on the look.
4. Processing: The color is left to develop for the recommended time, usually 30–45 minutes.
5. Rinse and Style: After rinsing, the hair is dried and styled to show the natural blend.
Highlight Application
1. Sectioning: The hair is divided into small vertical strips.
2. Foil Placement: Each strip is wrapped in foil or paper caps.
3. Color Application: The color is applied to the foiled strips.
4. Processing: The foil is left on for the specified time.
5. Removal: Foils are removed, and the hair is rinsed.
6. Final Styling: The hair is dried and styled.
Real‑World Examples: When Each Technique Wins
- Client A: 35‑year‑old with fine, dark hair wanted a subtle lift for a professional look. Balayage was chosen for its natural progression and low maintenance.
- Client B: 22‑year‑old with thick, dark hair sought a dramatic statement for a music festival. Foil highlights were selected to create bold, high‑contrast strands.
- Client C: 28‑year‑old with curly hair desired a beachy vibe. A short‑stroke balayage blended into the curls, giving a sun‑kissed effect without disrupting texture.
Common Misconceptions About Balayage vs Highlights
Misconception 1: Balayage is always low maintenance.
While balayage generally requires fewer touch‑ups, the color can fade faster if the client uses harsh shampoos or excessive heat styling. Proper aftercare is essential for longevity.
Misconception 2: Highlights are always more vibrant.
Highlights can be subtle if the foil is left for a shorter processing time or if the color is closely matched to the base. Conversely, a balayage can produce a vibrant lift if the strokes are more pronounced.
Misconception 3: Foils are the only way to get a bright look.
Modern techniques such as the “no‑foil” or “air‑foil” approach use a lightweight cap that doesn’t fully isolate the hair. This can give a bright, yet more natural finish.
How to Decide: A Decision Matrix
Use the table below to weigh your priorities against each technique’s strengths.
| Factor | Balayage | Highlights |
|---|---|---|
| Desired Contrast | Low to medium | High |
| Maintenance Frequency | Every 6–8 weeks | Every 4–6 weeks |
| Root Growth Visibility | Less noticeable | More visible |
| Suitability for Fine Hair | Excellent | Less ideal |
| Suitability for Thick Hair | Good with careful strokes | Excellent |
| Special Event Ready | Can be subtle | Bold statement |
Aftercare Tips: Keep Your Color Fresh
- Use a color‑protecting shampoo and conditioner.
- Deep condition once a week to keep strands supple.
- Limit heat styling to 180°C or lower.
- Apply a UV‑protective spray before sun exposure.
- Schedule regular touch‑ups based on your chosen technique.
FAQ
Balayage vs highlights: What is the difference?
Balayage is a freehand, sweeping technique that creates a natural, sun‑kissed gradient. Highlights use foils or caps to isolate sections, producing a more defined contrast.
Which is better for fine hair?
Balayage is generally better for fine hair because it adds subtle lift without stressing the strands.
Do highlights require more maintenance?
Yes, because the color is more defined, roots become visible faster and usually need touch‑ups every 4–6 weeks.
Can I mix balayage and highlights?
Absolutely. Many stylists blend both techniques to achieve a balanced look with both subtle gradients and defined accents.
How long does a balayage session take?
Depending on length and density, a typical balayage can take 2–3 hours, while highlights may take 1–2 hours.
For more color care insights, visit our hair care tips page. For a deeper look at the history of balayage, check out the Wikipedia entry on Balayage.
Leave a Reply